Configure Auth0 for OIDC SSO
Introduction
Auth0 is a Cloud-based Identity and Access Management solution that can be used for OIDC Single Sign-On (SSO) with the CIS SecureSuite Platform.
This guide explains how CIS SecureSuite Platform System Admins can configure Auth0 as their organization's identity provider for OIDC SSO.
Prerequisites
Ensure the following prerequisites have been met before proceeding.
| Item | Requirement |
|---|---|
| Auth0 role | Owner or Administrator in target tenant |
| CIS SecureSuite Platform role | System Admin role |
| Secret storage | A password manager or vault ready to store the client secret immediately |
Steps
1. Create application.
2. Configure settings.
3. Configure claims.
4. Create and verify auth0 users.
5. Get connections and endpoints
6. Connect Auth0 application to the CIS SecureSuite Platform.
Tip
We recommend opening the CIS SecureSuite Platform and going to the IdP page in Admin. You will need to copy/paste values from the IdP to the CIS SecureSuite Platform and vice versa.
Create Application
Start by creating and configuring the OIDC application in Auth0.
1. Log in to Auth0.
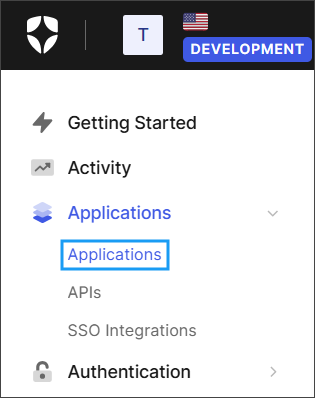
2. From the navigation bar, go to Applications > Applications.
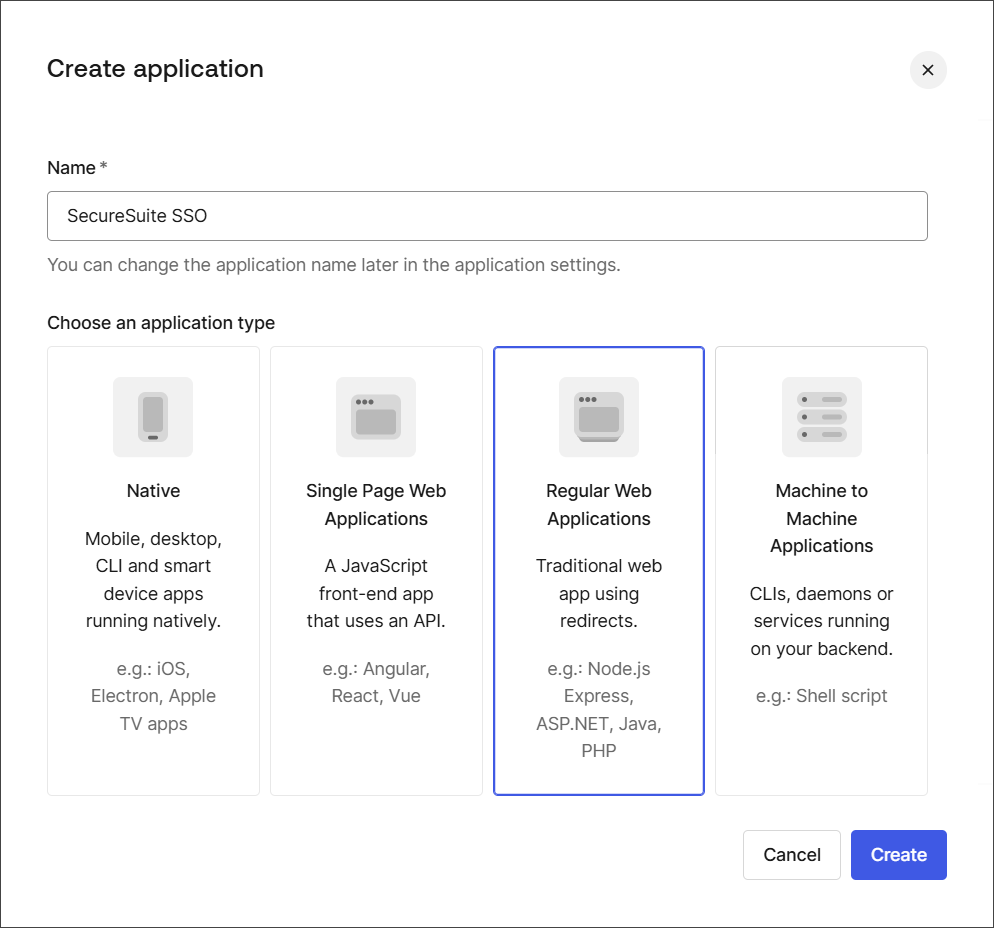
2. Select Create Application.

3. Enter a descriptive, user-friendly name for the application, select Regular Web Applications and Create.
Configure Settings
Next, configure the settings for the application.
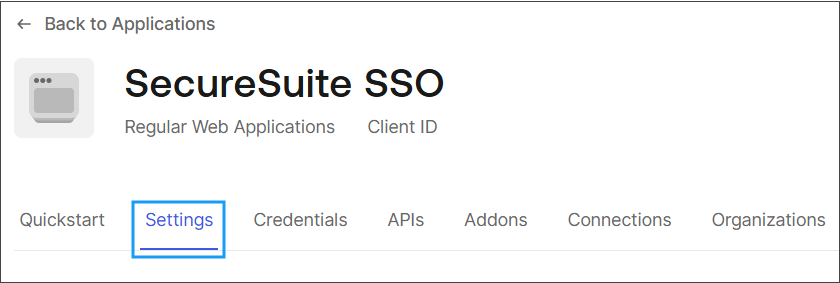
1. Go to the Settings tab.
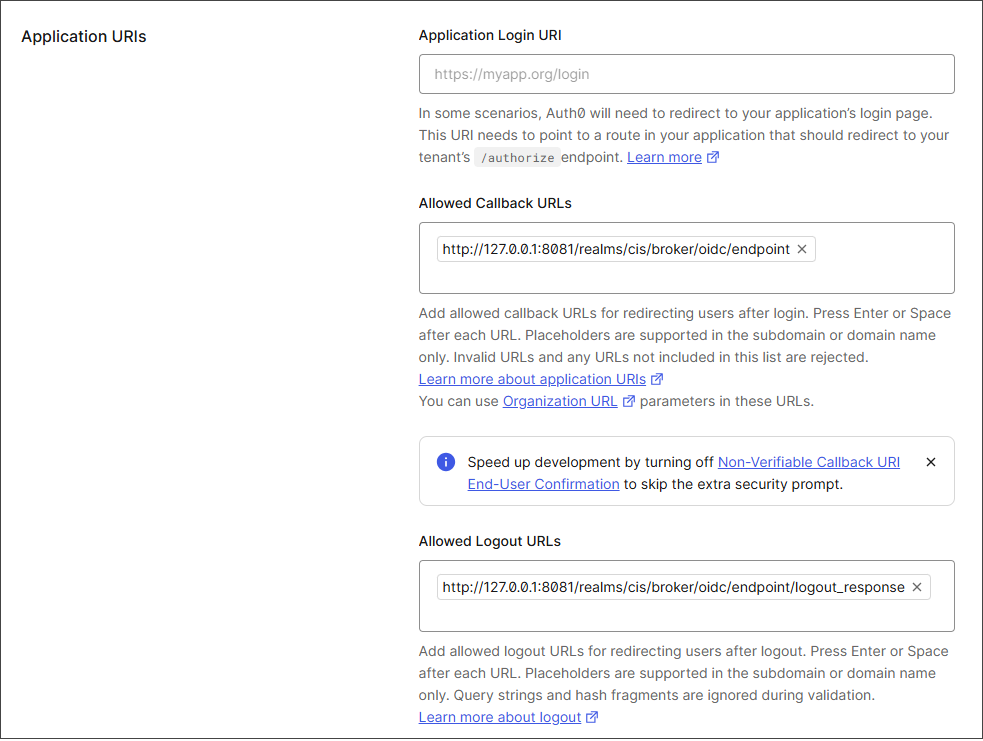
2. Configure the following settings:
- Allowed Callback URLs: Copy and paste the Redirect URI from the IdP page in the CIS SecureSuite Platform's Admin area.
- Allowed Logout URLs: Copy and paste the Sign-out Redirect URI from the IdP page in the CIS SecureSuite Platform's Admin area.
Note
The Redirect URI must exactly match what the CIS SecureSuite Platform shows— character for character, including protocol (https) and any path suffix. A mismatch causes a redirect_uri_mismatch error at login.
3. At the bottom-right of the page, select Save Changes.
Configure Claim
CIS SecureSuite’s Keycloak broker requires the preferred_username claim to map the authenticated user to a local Keycloak account. Create a post-login action to inject the claim automatically.
1. From the left navigation, go to Actions > Library.
2. On the Custom tab, select Create Action and then Create Custom Action.
3. Enter a name for the action (e.g., Add preferred_username) and keep the other fields as is.
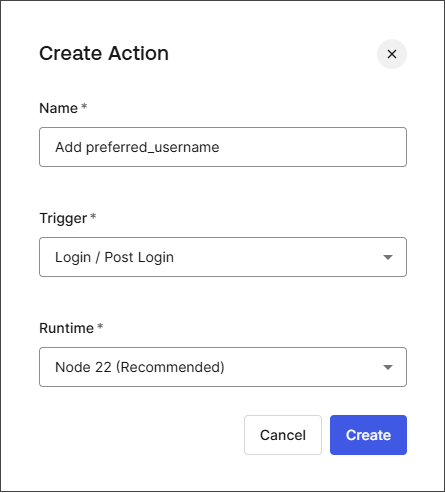
4. Select Create.
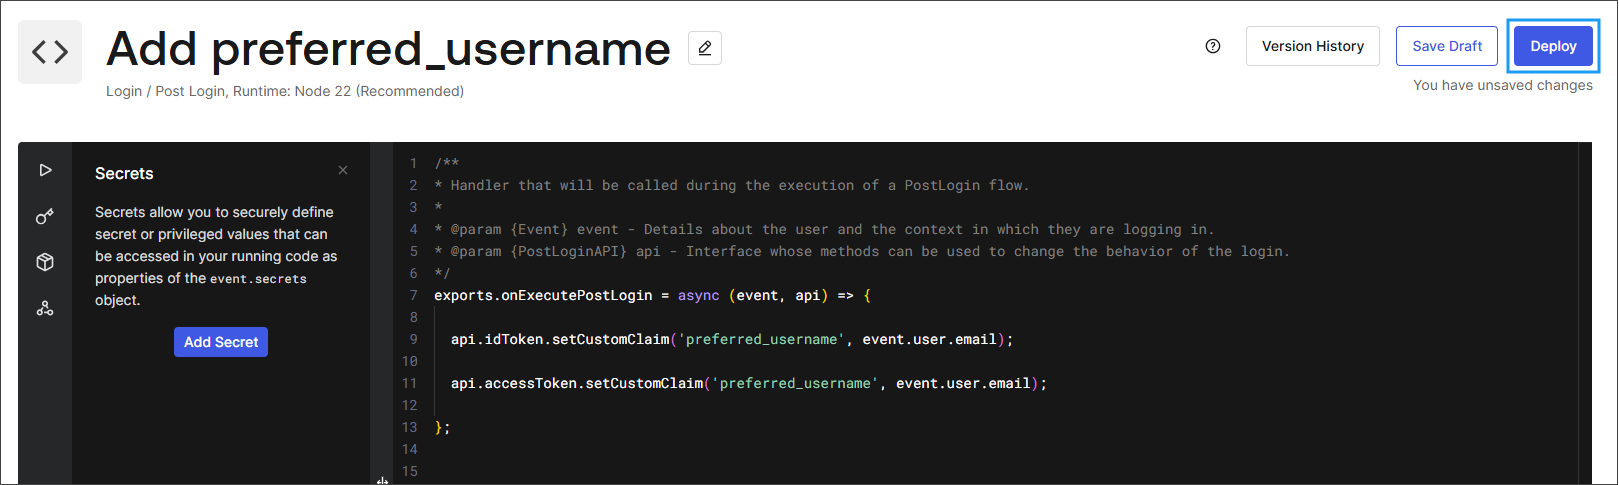
5. Copy the following script and paste it into the editor to configure the claims:
exports.onExecutePostLogin = async (event, api) => {

  api.idToken.setCustomClaim('preferred_username', event.user.email);

  api.accessToken.setCustomClaim('preferred_username', event.user.email);

};
6. Select Deploy.
7. From the left navigation, go to Actions > Triggers.
8. Select post-login.
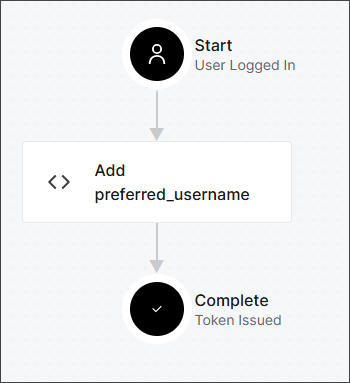
10. Drag the created action into the Auth0 login flow between the Start and Complete flows.
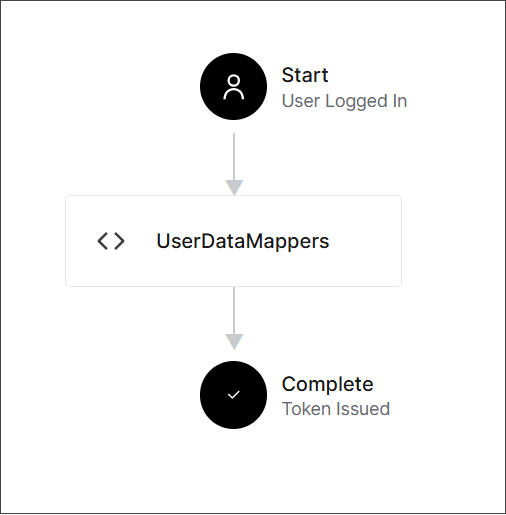
11. Select Apply to finish configuring the required attributes.
Create and Verify Auth0 Users
Users who will authenticate via Auth0 must exist in the Auth0 tenant.
1. In Auth0, go to User Management > Users.
2. Select Create User.
3. Enter the user’s Email, a temporary Password, and leave Connection as is.
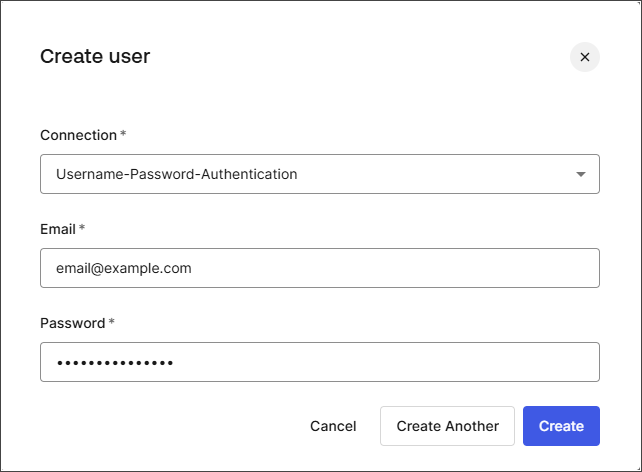
4. Select Create.
5. Go to the Connections tab in the application you created.
6. Confirm that Username-Password-Authentication is toggled on.
Auth0 does not require users to be explicitly assigned to the application—any user in an enabled connection can authenticate without an additional assignment step.
Note
The user must also exist in Keycloak with the same email address. Keycloak’s first-broker-login flow matches users by email. If the user exists in Auth0 but not in Keycloak, login will fail with an "invalid_user_credentials" error at the first-broker-login step.
Get Connections and Endpoints
To establish the connection between the Auth0 application and the CIS SecureSuite Platform, you need the discovery URL, client ID, and client secret.
1. Go to the Settings tab in the Auth0 application.
2. To get the discovery URL, copy the Domain value and append /.well-known/openid-configuration to the end of it.
https://example.auth0.com/.well-known-openid-configuration
3. Copy the client secret and client ID.
Storing client secret
Ensure you store your client secret in your team's vault for future reference.

Connect Auth0 Application to the CIS SecureSuite Platform
With the connections and endpoints, finish setting up SSO with Auth0 by connecting the IdP to the CIS SecureSuite Platform.
1. Open the CIS SecureSuite Platform.
2. Go to Admin > IdP.
3. From the External Identity Provider dropdown, select OIDC.
4. Complete the fields by providing the discovery URL, client ID, and client secret.
Tip
Refer to the Connect with OIDC procedure for detailed instructions on this step.
5. Select Submit to establish the connection.